> ## Documentation Index
> Fetch the complete documentation index at: https://help.emaillove.com/llms.txt
> Use this file to discover all available pages before exploring further.
# Export Figma emails to Blueshift
> Export email designs from Figma into Blueshift as email templates with the Email Love plugin.
The Email Love Figma Plugin connects directly to Blueshift, letting you export professionally designed emails from Figma straight into Blueshift Templates. Stop re-building your Figma designs in HTML or in a drag-and-drop builder and cut your email production time in half.
[Download the Email Love Figma Plugin here](https://www.figma.com/community/plugin/1387891288648822744/email-love-html-email-builder)
The Export feature in the Email Love Figma plugin allows you to easily convert your email design into email-friendly HTML or MJML, or directly export it to Blueshift.
**Follow these steps to export your email design.**
Ensure that your email design is finalized and ready for export, then click on the frame you want to export to ensure it is selected. Please note, you will need to use an Email Love Footer with an Unsubscribe link for the export to work. We will automatically merge in the Blueshift Unsubscribe token.
Click the Export button located in the top right corner of the Plugin interface.
On the Export page, select "Blueshift" from the dropdown menu.
If you have not added your Blueshift API key, click "Change API Key."
Login to your Blueshift Account and navigate to Account Settings > API Keys.
Click on "User API Key."
Copy the API key to your clipboard.
Paste your API key into the "Blueshift API Key" box in the Email Love Figma Plugin.
Give your API key a name (useful if you have multiple Blueshift accounts or brands).
Select which region your API key uses (US or EU).
Click the "Set API Key" button.
Click the "Export to Blueshift" button at the top of the plugin.
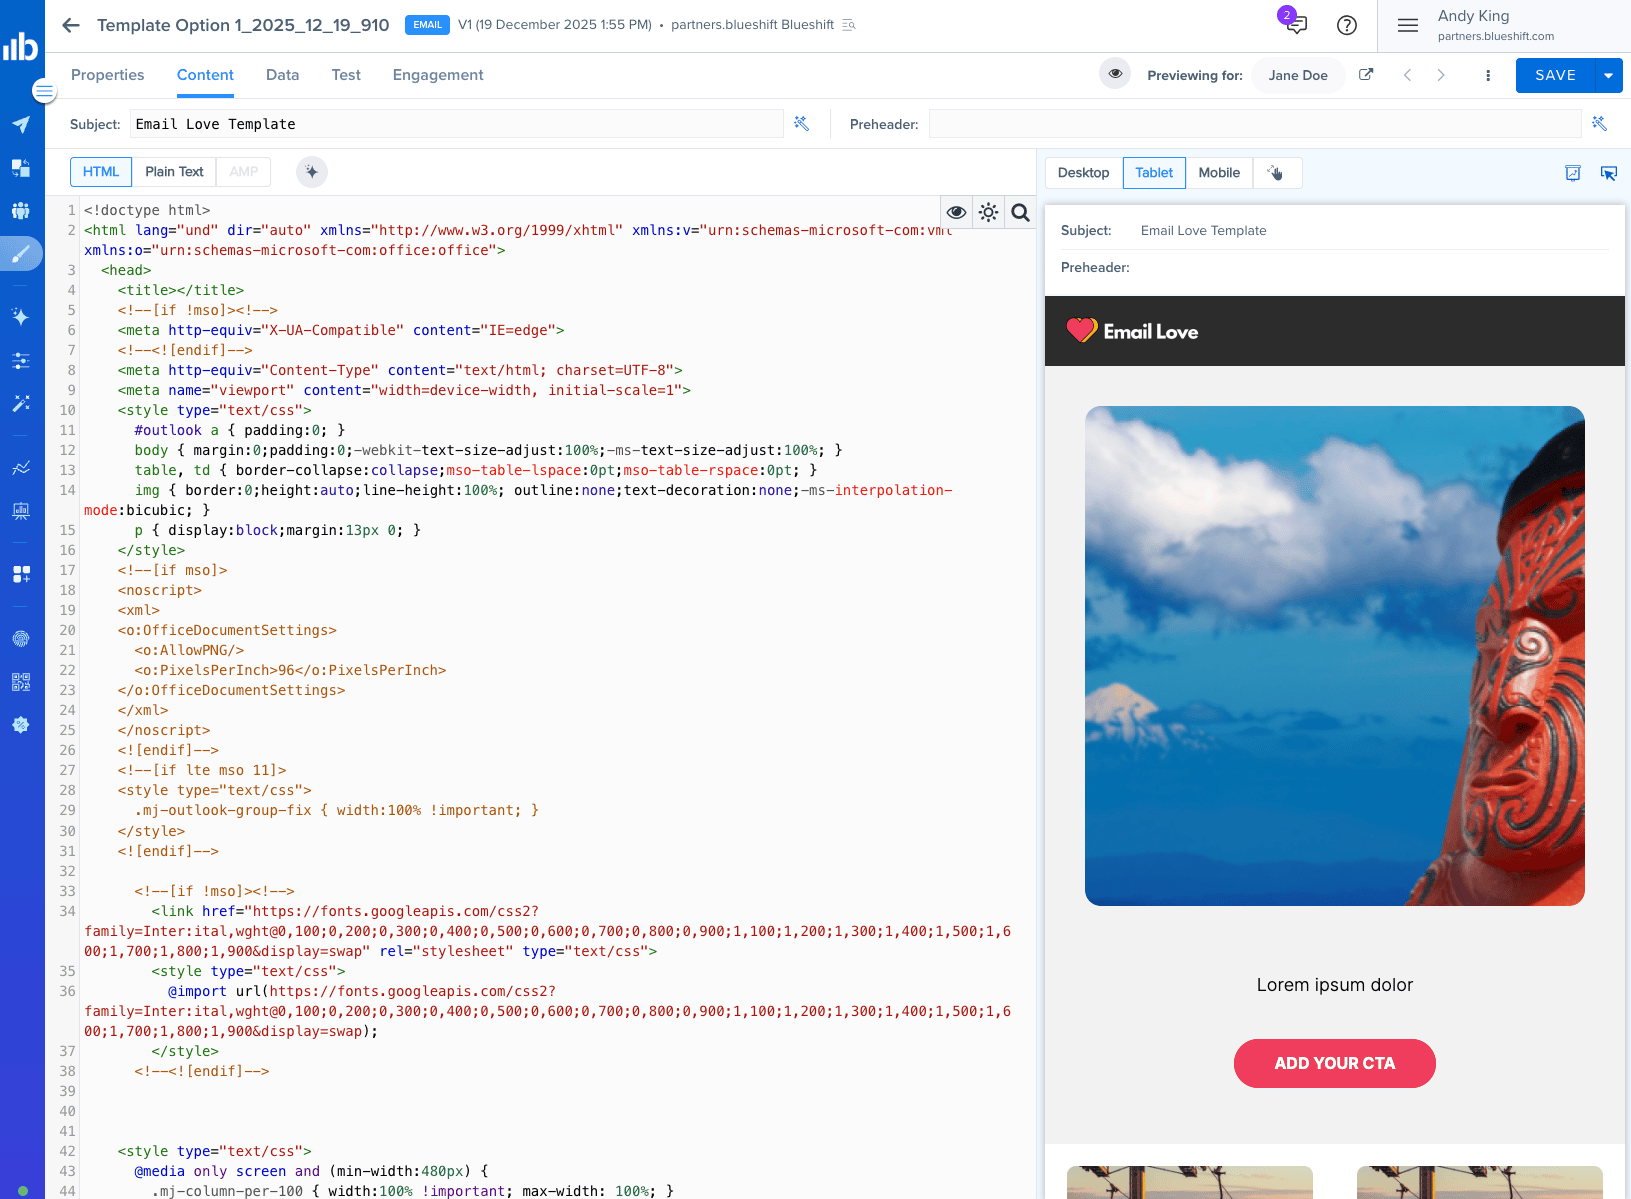
Navigate back to Templates > Email Templates in Blueshift to find your email.
## Customizing your email before export
The Email Love Figma Plugin lets you configure all the details you'd normally set up in your ESP directly within Figma:
**Images:** Select any image and use the Properties tab to add the image URL, alt text, or override the image source for dynamic content (Movable Ink, Nifty Images, countdown timers, etc.).
**Buttons:** Select any button and add the destination URL in the Properties tab.
**Personalization:** Add Blueshift merge tags like `{{user.firstname}}` directly in your text layers.
**Mobile styles:** Select any element and go to Mobile Styles to hide on mobile/desktop, adjust padding, or change font size, line height, and alignment.
## Previewing your email
Before exporting, use the Preview tab to check your email on desktop, mobile, and dark mode. The Appearance tab lets you customize light and dark mode rendering settings, including iOS-specific dark mode behavior and Google font fallbacks.
## Edit your email inside of Blueshift
Once you have exported your email, you can navigate to Templates > Email Templates inside of Blueshift where you can then send it to your recipients or edit the content directly in the HTML.
## Related Articles
* [Export Overview](/plugin/export/overview): Understand all export options and how the plugin converts your Figma design to HTML
* [Image Hosting](/plugin/images/hosting): How the plugin handles image hosting during export