> ## Documentation Index
> Fetch the complete documentation index at: https://help.emaillove.com/llms.txt
> Use this file to discover all available pages before exploring further.
# Export Figma emails to Netcore
> Export email designs from Figma into Netcore as email templates with the Email Love plugin.
The Email Love Figma Plugin lets you design emails in Figma and export them directly to Netcore as production-ready HTML. This guide walks you through the setup process.
## What You'll Need
* A Netcore account with admin access
* The Email Love Figma Plugin installed
* An email design ready to export in Figma
First, you'll need to create an API key in your Netcore account.
1. Log into your Netcore account
2. Navigate to **Settings** in the main navigation
3. Click on the **Integrations** tab
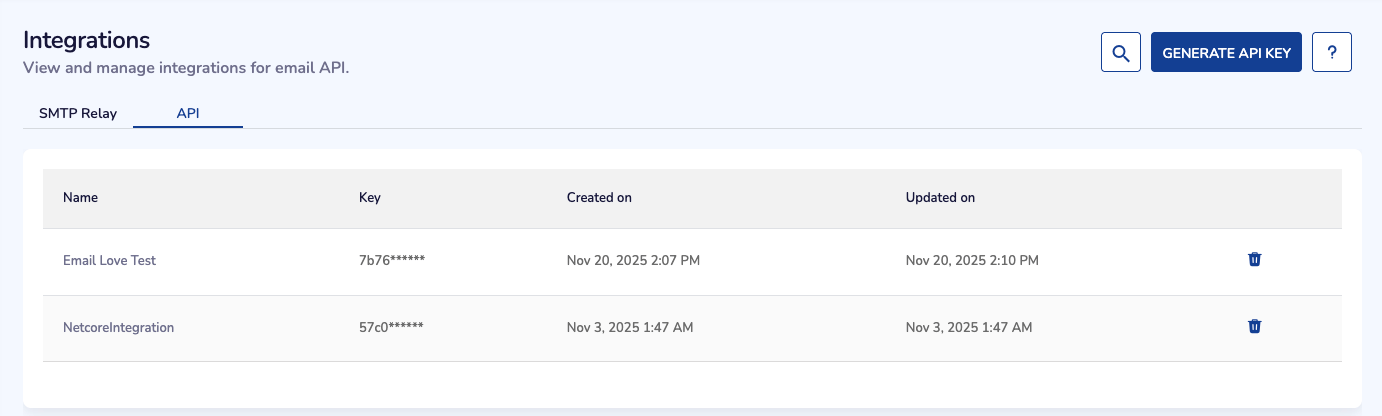
4. Select the **API** section
5. Click the **Generate API Key** button in the top right corner
6. Give your API key a descriptive name (this helps if you manage multiple accounts)
7. Set permissions to **All**
8. Click **Generate**
9. Copy the API key to your clipboard (you'll need this in the next step)
Now you'll add your API key to the Figma plugin.
1. Open your email design in Figma
2. Launch the Email Love Figma Plugin
3. Select your email frame
4. Click the blue **Export** button
5. Choose **Netcore** from the ESP dropdown
6. Click **Change API Key**
7. Paste your API key in the box at the top
8. Give the connection a unique name (helpful if you work with multiple Netcore accounts or clients)
9. Click **Set API Key**
You're now connected to Netcore.
With your API key saved, exporting emails is simple.
1. Select the email frame you want to export
2. Click the **Export** button
3. The plugin converts your design into responsive, accessible HTML
4. Your email automatically uploads to the Templates section in Netcore
Your exported email lives in the Templates section of your Netcore account.
1. Go back to your Netcore account
2. Navigate to the **Templates** section
3. Find your newly exported template in the list
4. Click to open it
## Making Changes to Your Email
You have two options for editing your email after export:
* Open your template in the Templates section
* Make changes to the HTML in the Netcore editor
* Save your updates
* Make design changes in your Figma file
* Re-export to Netcore (this overwrites the previous version)
* Your updated template appears in Netcore
## Managing Multiple Netcore Accounts
If you work with multiple Netcore accounts or manage client accounts, you can save multiple API keys in the plugin. Each connection can have its own unique name, making it easy to select the right account when exporting.