

What You’ll Need
- A Netcore account with admin access
- The Email Love Figma Plugin installed
- An email design ready to export in Figma
1
Generate Your Netcore API Key
First, you’ll need to create an API key in your Netcore account.
- Log into your Netcore account
- Navigate to Settings in the main navigation
- Click on the Integrations tab
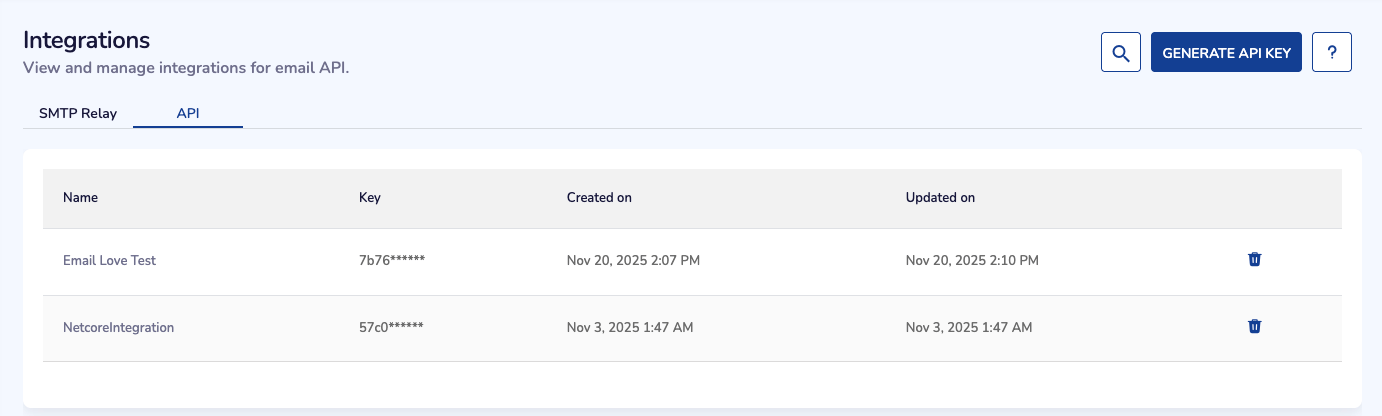
- Select the API section
- Click the Generate API Key button in the top right corner
- Give your API key a descriptive name (this helps if you manage multiple accounts)
- Set permissions to All
- Click Generate
-
Copy the API key to your clipboard (you’ll need this in the next step)
2
Connect the Plugin to Netcore
Now you’ll add your API key to the Figma plugin.
- Open your email design in Figma
- Launch the Email Love Figma Plugin
- Select your email frame
- Click the blue Export button
- Choose Netcore from the ESP dropdown
- Click Change API Key
- Paste your API key in the box at the top
- Give the connection a unique name (helpful if you work with multiple Netcore accounts or clients)
- Click Set API Key
3
Export Your Email
With your API key saved, exporting emails is simple.
- Select the email frame you want to export
- Click the Export button
- The plugin converts your design into responsive, accessible HTML
- Your email automatically uploads to the Templates section in Netcore
4
Find Your Template in Netcore
Your exported email lives in the Templates section of your Netcore account.
- Go back to your Netcore account
- Navigate to the Templates section
- Find your newly exported template in the list
- Click to open it
Making Changes to Your Email
You have two options for editing your email after export:- Edit directly in Netcore
- Re-export from Figma
- Open your template in the Templates section
- Make changes to the HTML in the Netcore editor
- Save your updates