

Connect Customer.io
Workspace owners and admins connect this integration.- Open Integrations in Builder and choose Customer.io under Email service providers.
- Give the connection an Account name your team will recognize, then enter the details below.
- Save the connection. For another account on the same platform, choose Connect another account and give it a recognizable name.
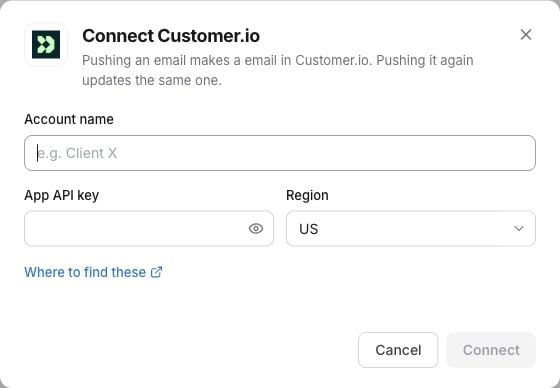
The Customer.io connection form in Builder. Enter your own account details; no credentials are shown in this example.
Saved secrets are not shown again. Leave a saved secret blank to keep it, or enter a new value to replace it. Credentials saved only in the Figma plugin do not connect the Builder account.
Use Where to find these in the connection panel for the provider’s setup guidance.
Export from Builder
Open an email, click Export, choose Customer.io and the account, then review the format and destination options. The detailed Customer.io export guide covers formats, provider previews where available, verified updates and limitations. Builder checks the destination against its last verified export before updating it. If it has changed, review it in the platform or create a new copy. There is no force-overwrite option. Check the destination after export and finish your sending setup in the platform. An export does not send a campaign. If Builder says Check your ESP before retrying, inspect the destination before exporting again. See Exporting and plans.Email reporting in Builder
Aggregate newsletter metrics. When Customer.io supplies an explicit reporting window, Builder preserves its full counts and displays that date range. This can start on the newsletter’s send date rather than today; it is not relabelled as a rolling 7-, 14- or 30-day report. Automated campaign actions, transactional messages and content variants are not included.- Open Reports → Email performance, choose a design system and click Manage insight settings.
- Choose this ESP account. Its reporting options load automatically.
- Choose an email newsletter from the source picker.
- Click Save and load results to save your selection and queue the import. The account needs reporting permission separately from export access.
- Click Update now in the report for a manual refresh, or enable Sync ESP results and save for refreshes every six hours.
Troubleshooting
- Connection rejected: check the credentials and any region or endpoint against the account you want to use. Update saved secrets in Integrations if they have changed.
- Wrong destination: check the selected account before exporting or choosing a report source.
- Exports work but reporting fails: save your source selection and run Check reporting access. Check reporting permissions and the source ID. Do not grant contact access to work around a reporting limitation.